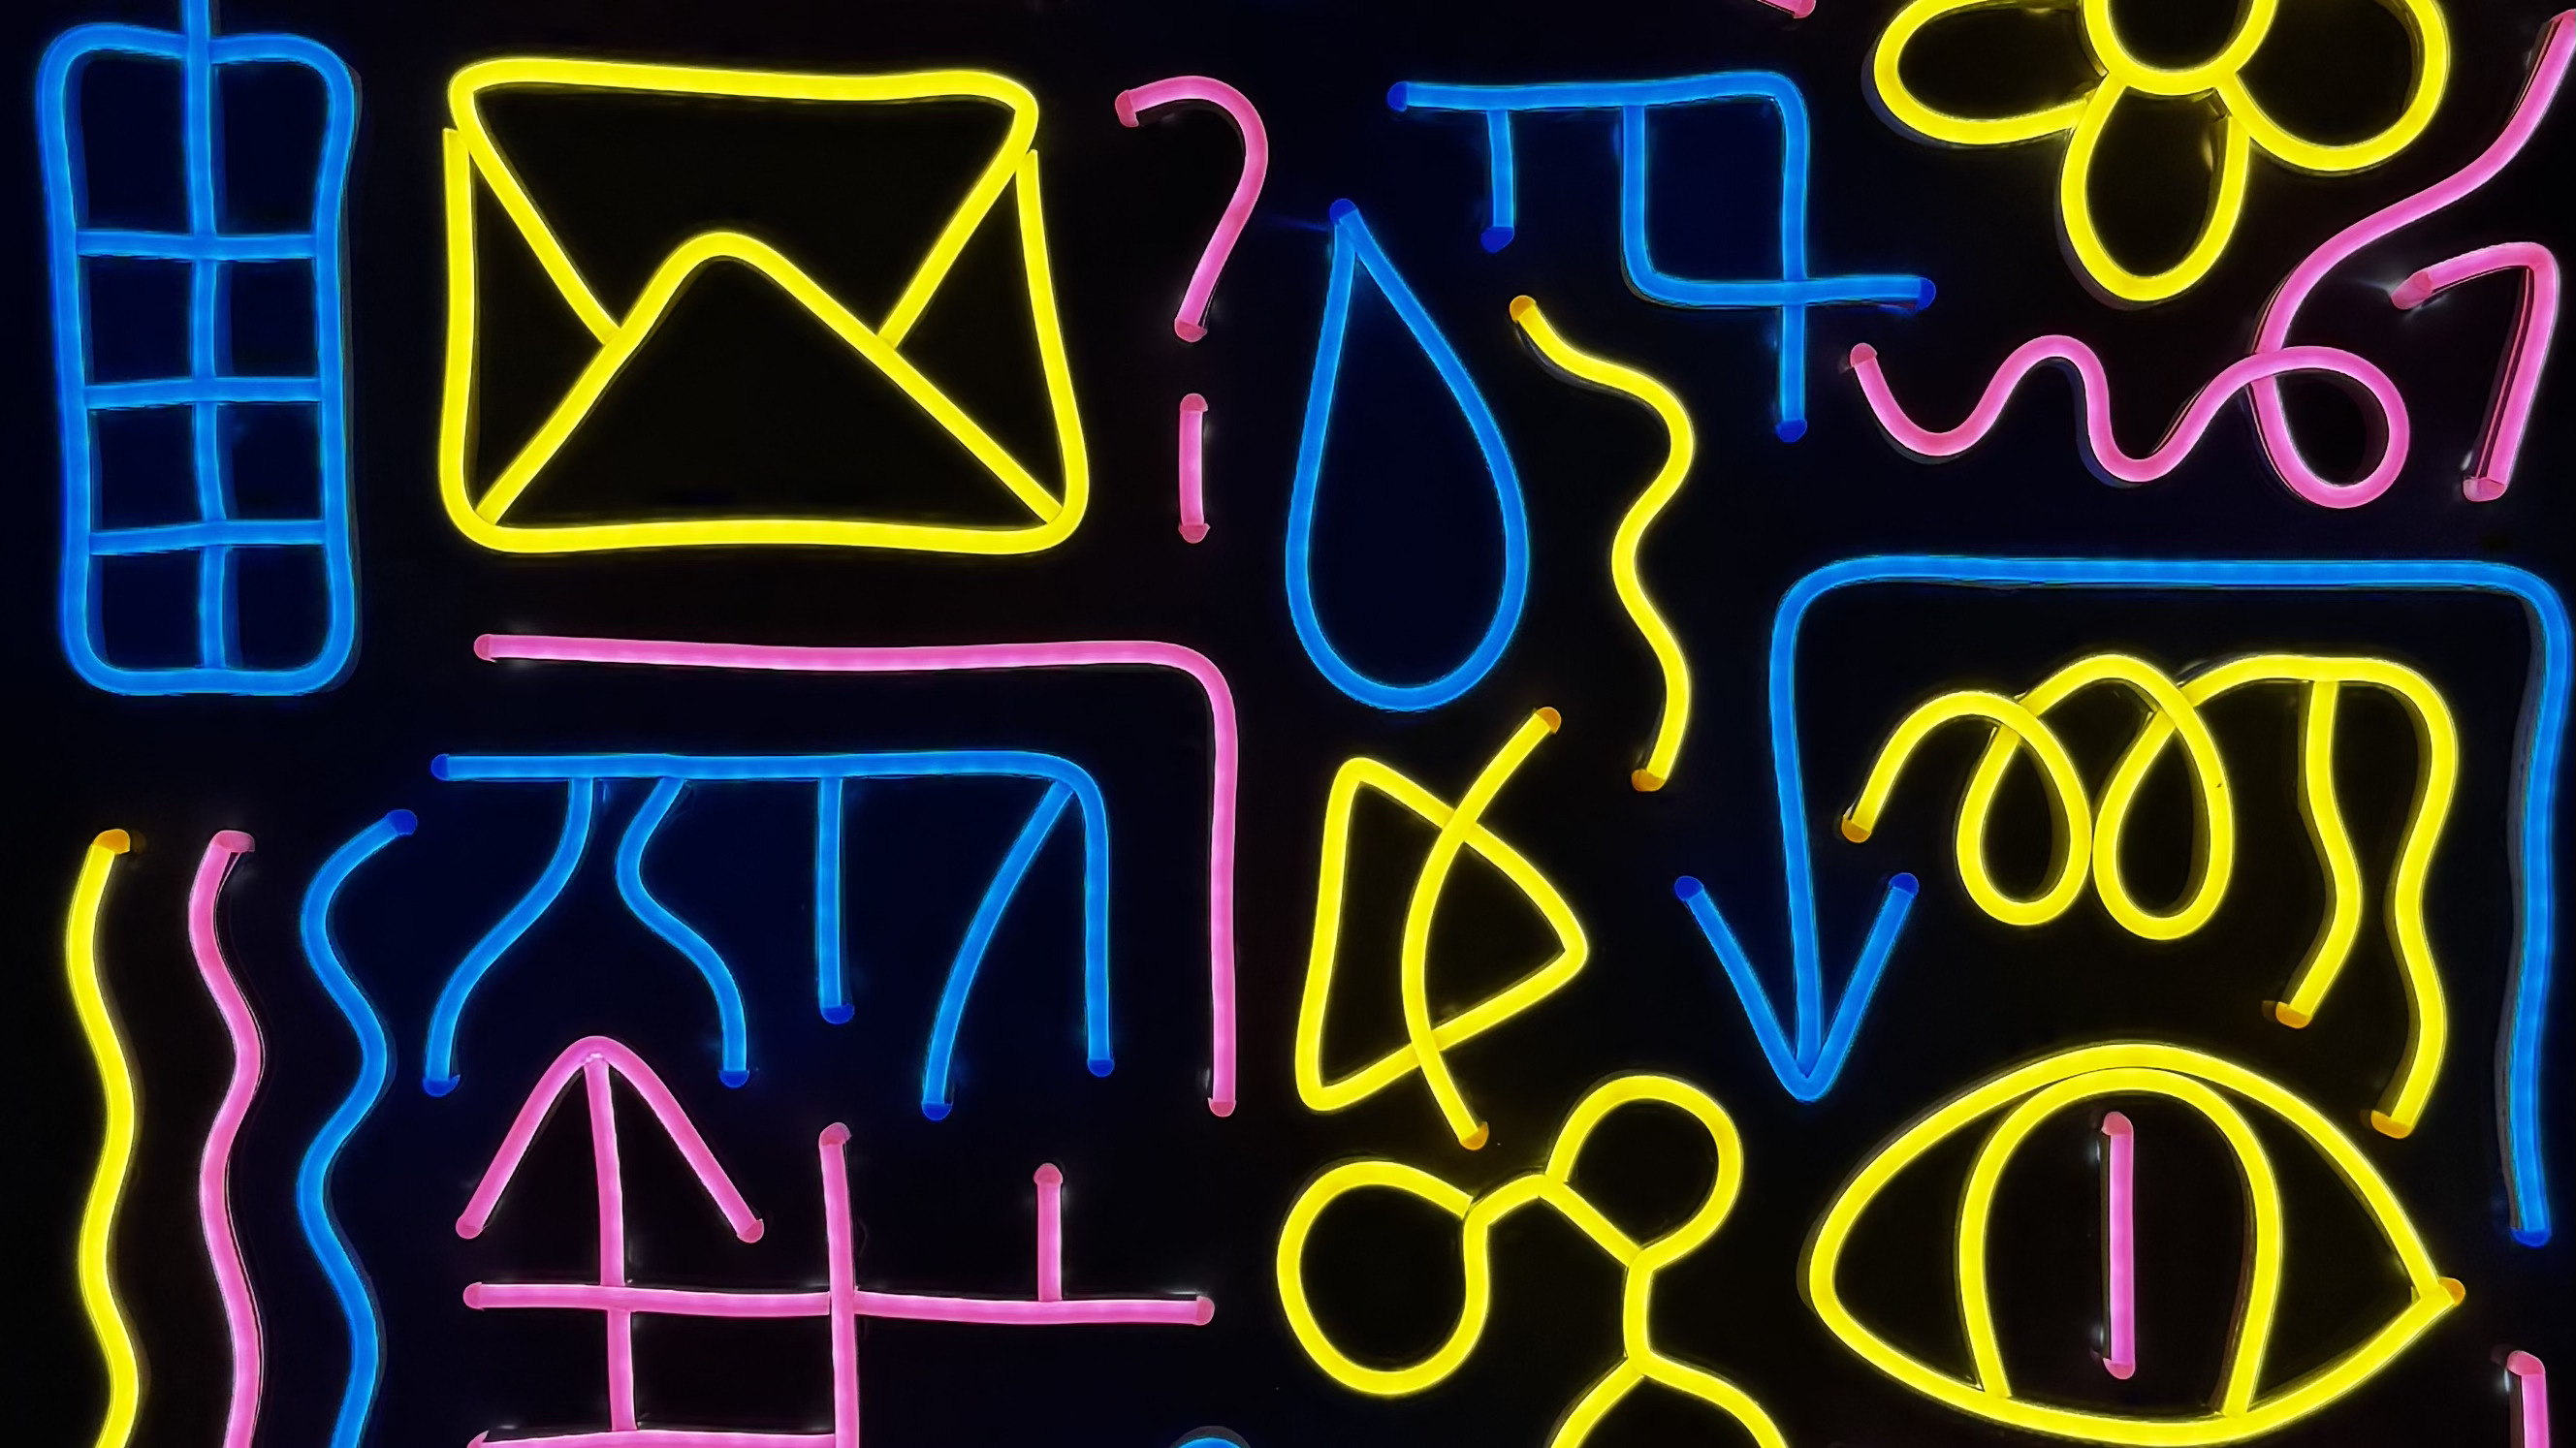
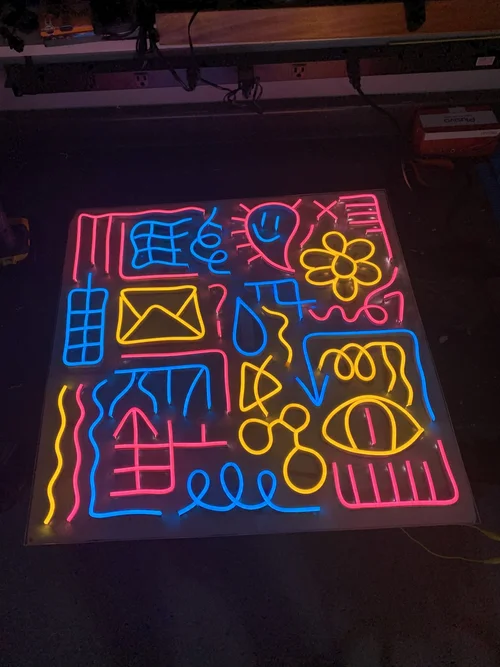
I created this illuminated art installation as a birthday gift for my mom following my college graduation. The project involved translating the intricate, signature linework of local artist Vinnie Hager into a physical LED display. After reaching out to Vinnie and receiving the green light to use his design, I spent countless hours over the summer meticulously hand-crafting the piece, finishing it just in time for her birthday.
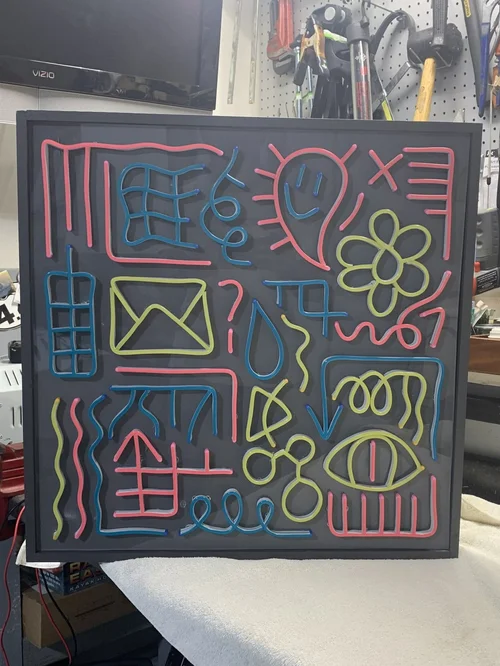
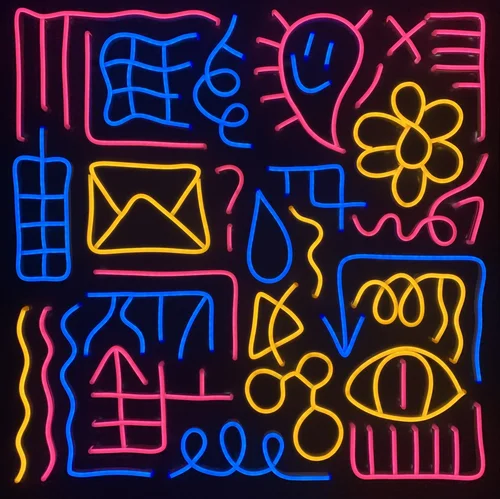
Phase 1: Scale Template and Frame Construction
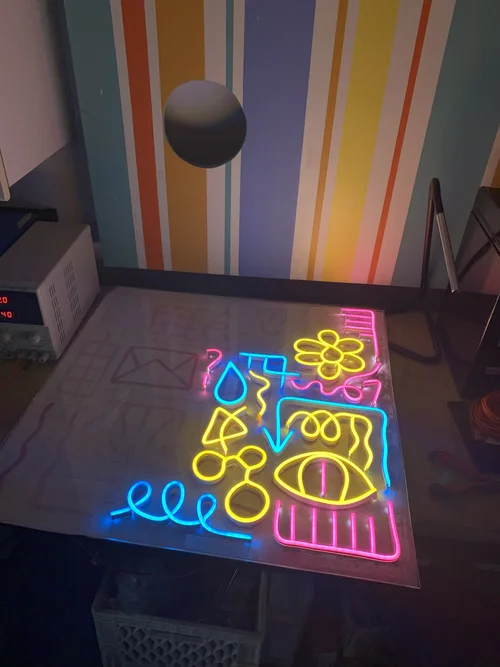
Figuring out how to turn Vinnie’s complex, organic 2D linework into a physical structure took a lot of careful planning. I kicked off the build by making a massive, full-scale print template to act as my roadmap. This allowed me to map out the exact curves, measure all the LED segment lengths, and plan exactly where the wires would need to punch through the acrylic backing.
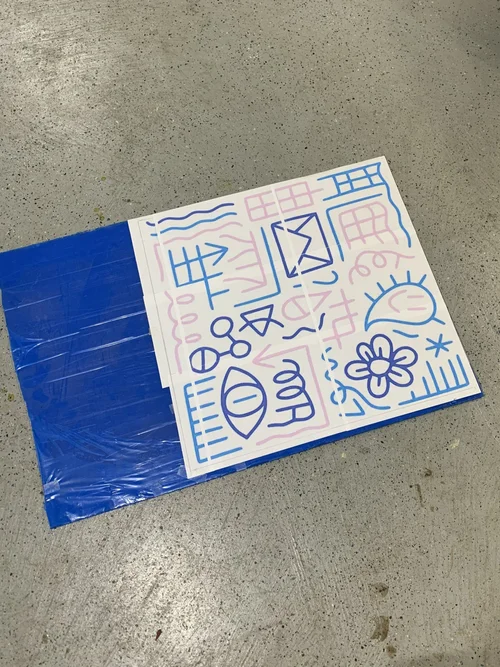
Full-scale print template utilized to map exact curvature, segment lengths, and wiring feedthrough points across the canvas.
Phase 2: Manual Forming and High-Density Micro-Soldering
Next, I dove into the most labor-intensive phase: the LEDs. I spent hours measuring, cutting, and shaping each flexible LED segment before carefully bonding them in the correct shape to an acrylic backing. The real challenge, though, was the soldering. I hand-soldered tiny power and ground connections for every individual segment. To prevent voltage drop and keep the illumination perfectly even across the whole piece, I also had to route power rails throughout the project to periodically inject power back into the circuit.
Lessons Learned: Design For Manufacturing (DFM)
While I managed to build the whole thing by hand, this project made me realize how much easier it would be with a CNC. If I were to do it again, I would definitely ditch the manual fabrication, model the design in CAD, and cut everything on a CNC router to streamline the whole process.