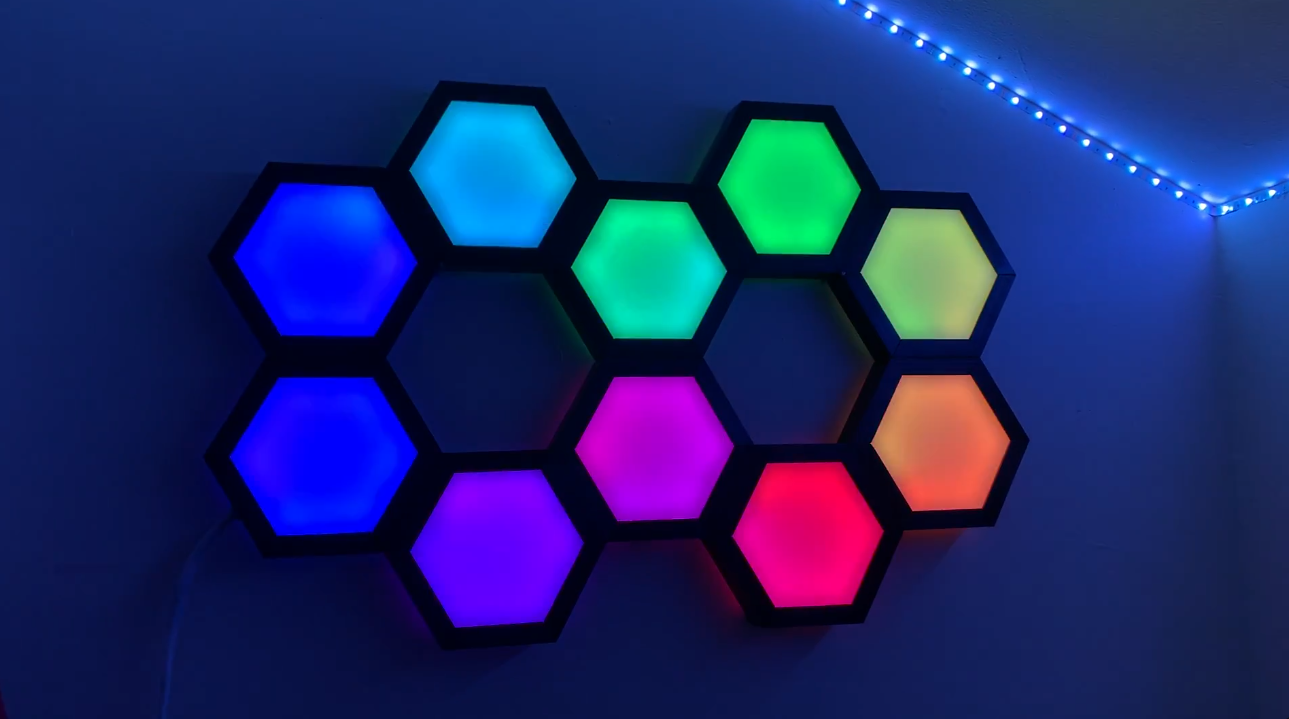
I built this interactive lighting installation over my 2020-2021 winter break as a fun way to branch out from the theoretical software I was writing in my classes (like C++, Python, and MATLAB) and get my hands dirty with physical embedded hardware. The final piece features 280 individually addressable WS2812B NeoPixels housed inside custom wooden hexagonal frames, along with integrated analog and digital inputs that let you change the brightness and patterns on the fly.
Enclosure Fabrication & Modular Prototyping
Before diving into the massive wall installation, I built a quick two-hexagon prototype just to test out my circuit, make sure the code worked, and figure out the mechanical assembly.
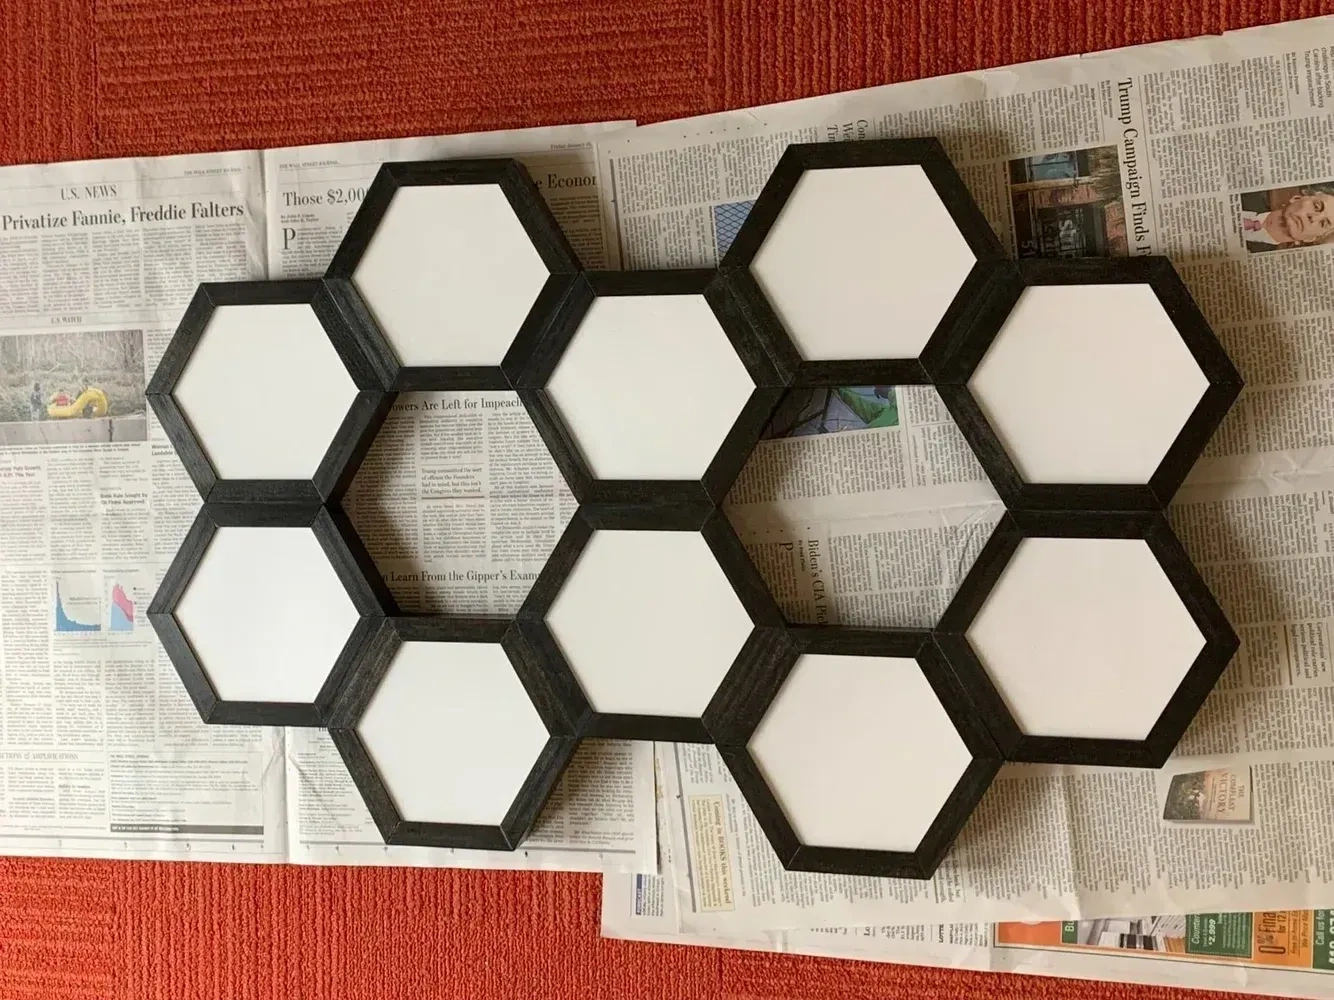
For the final build, the physical enclosures involved a lot of careful woodworking. I hand-cut each hexagonal frame with precise 60-degree miters so they would interlock seamlessly. I finished these final frames with a deep matte black stain, which looks super clean when powered off and makes the colors really pop when they’re turned on. To finish it off, I fitted custom foam diffusion panels over the LEDs to blend the harsh individual bulbs into a smooth, ambient glow.
Fully illuminated 280-NeoPixel modular hexagonal array mounted with custom matte-black stained wood frames and foam diffusion panels.
Embedded Firmware & Real-Time Control
I wrote the code for the Arduino, leaning on standard Arduino NeoPixel libraries to handle the low-level LED protocol. My main focus was keeping the animations smooth and ensuring the physical controls were instantly responsive. To pull this off, I focused on three key areas:
Hardware Interrupt Mode Switching: I wired the mode-selection push-button directly to a hardware interrupt pin. This guarantees the microcontroller never misses a button press, instantly switching patterns without having to constantly poll the button during heavy animation loops.
Non-Blocking Timing Architecture: Instead of using standard delay() functions that freeze the entire system, I used millis() timers to track elapsed time. This allows the lights to render smoothly while the board simultaneously listens for user inputs.
Brightness Mapping: I added a potentiometer to control overall brightness, but I mapped the raw analog readings to an exponential curve in the code. Because the human eye perceives light logarithmically, this makes the dimming feel incredibly natural rather than strictly linear.
Power Distribution
Managing 280 WS2812B NeoPixels operating at maximum white brightness demanded careful power budget analysis. At peak load, each RGB diode draws approximately 60mA, resulting in a theoretical maximum current draw of roughly 16.8A ($280 \times 0.06\text{A}$). Feeding this current from a single point would introduce severe trace resistance, causing voltage drop and a noticeable reddish-orange color shift at the tail end of the strip due to insufficient forward voltage on the blue and green semiconductor junctions.
To guarantee uniform color balance and prevent voltage sag, parallel 5V power injection taps were distributed across intermediate nodes in the array.
Lighting Profiles
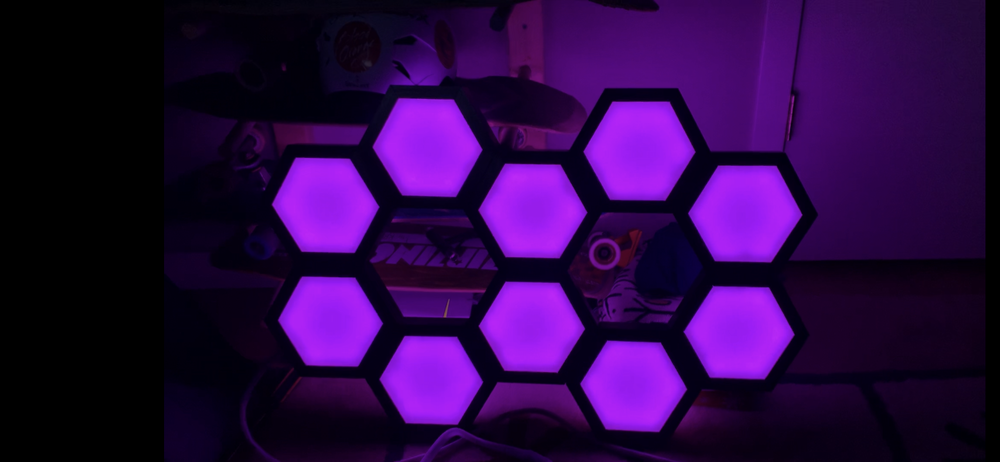
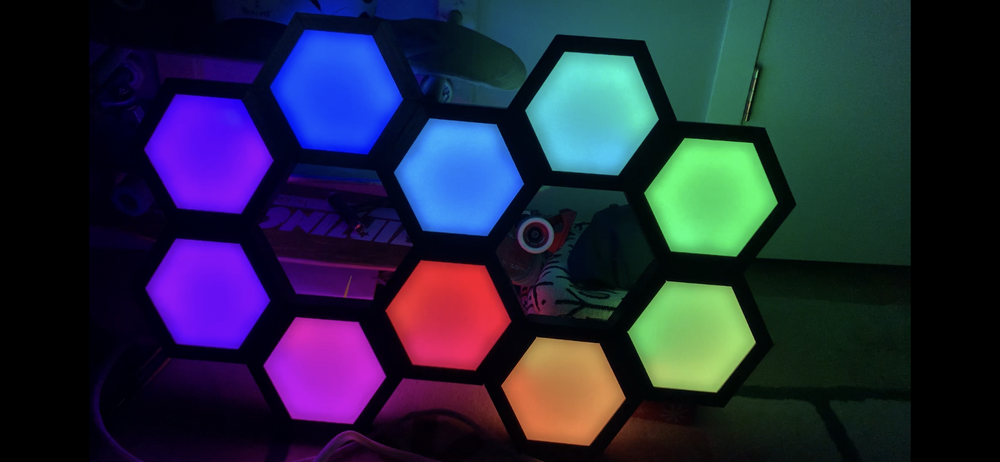
I developed a variety of designs and modes for the LEDs. This included multiple static colors, as well as dynamic displays. Some of the patterns are shown in the video below.
Retrospective & Engineering Impact
Building this NanoLeaf installation was a massive turning point for me as an engineer. Finally taking the C++ I was learning in class and combining it with physical woodworking, custom circuits, and power budgeting made all those theoretical software concepts click in the real world. That hands-on experience gave me the confidence to dive deeper into hardware, pushing me to take advanced classes in Mechatronics, IoT systems, and autonomous robotics.