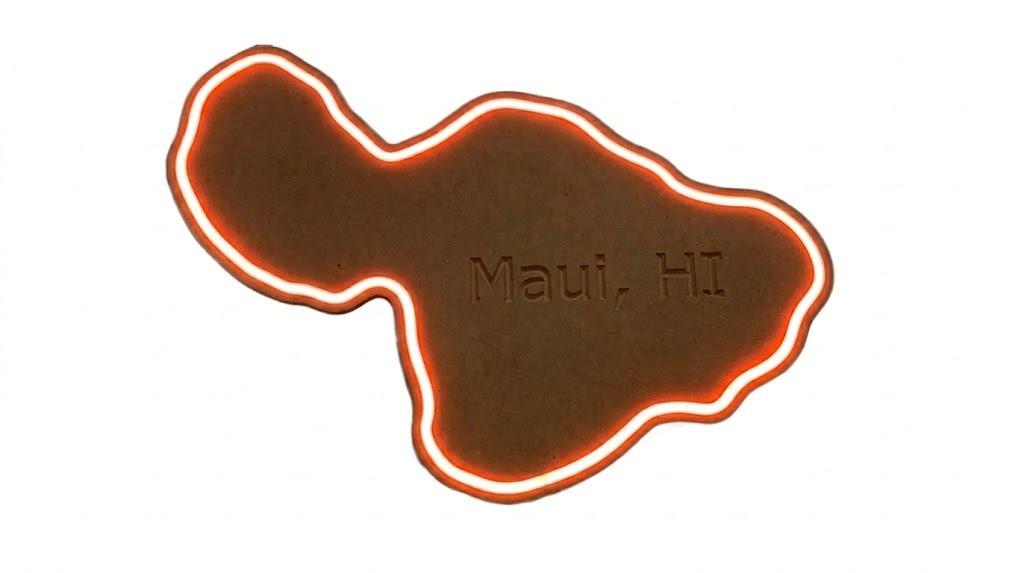
I built this custom illuminated wall art of Maui to run through the complete workflow of vector design, CNC routing, and LED integration. The final piece combines multi-tool CNC machining, V-carve engraving, and hidden LED backlighting into a clean, flush-mounted sign.
CAD & Vector Design
The design started in Inkscape, where I manually traced a raster map of the island to get an accurate vector outline and integrated the typography. I exported the clean SVG and pulled it into Autodesk Fusion 360 as a base sketch.
After cleaning up the stray spline nodes, I used Fusion’s parametric tools to extrude the 3D body and cut a rear internal channel. This channel houses the LED lighting strip and wiring harness so the sign can sit perfectly flush against the wall.
CAM & CNC Machining
I programmed the CAM toolpaths in Fusion 360 and ran them on a Shapeoko 3 XXL CNC router using MDF stock. The build required three distinct operations:
- Engraving: I used a 90-degree V-carve bit for the text and geographic markers to get sharp, clean line-width variations based on depth.
- Pocketing: I ran a 1/8-inch flat end mill to clear out the rear trench for the LED strip.
- Profiling: I cut the final outer contour using a 1/4-inch flat end mill, adding tab supports to keep the part from shifting during the final pass.
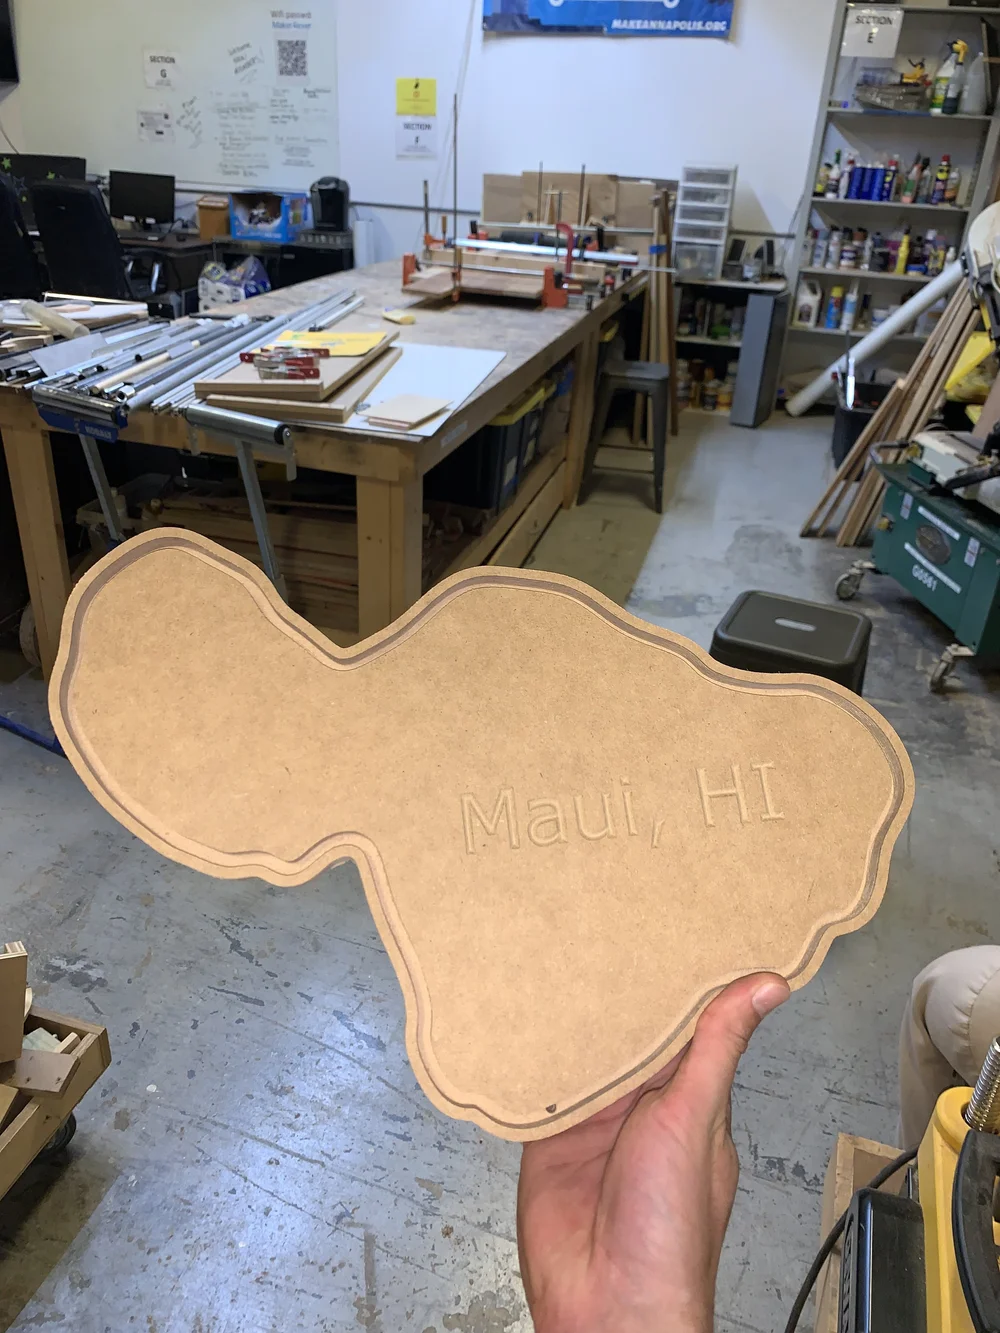
Running the multi-tool CAM operations on the Shapeoko 3 XXL CNC router.
Assembly & Hardware Integration
To get the sign to sit completely flush against the wall, I used a manual mill to cut a couple of keyhole slots into the back of the MDF. For the lighting, I press-fit an LED strip into the CNC-routed rear channel and soldered the leads to a standard DC barrel jack, giving it a clean connection point for the power supply.
Project Wrap-Up
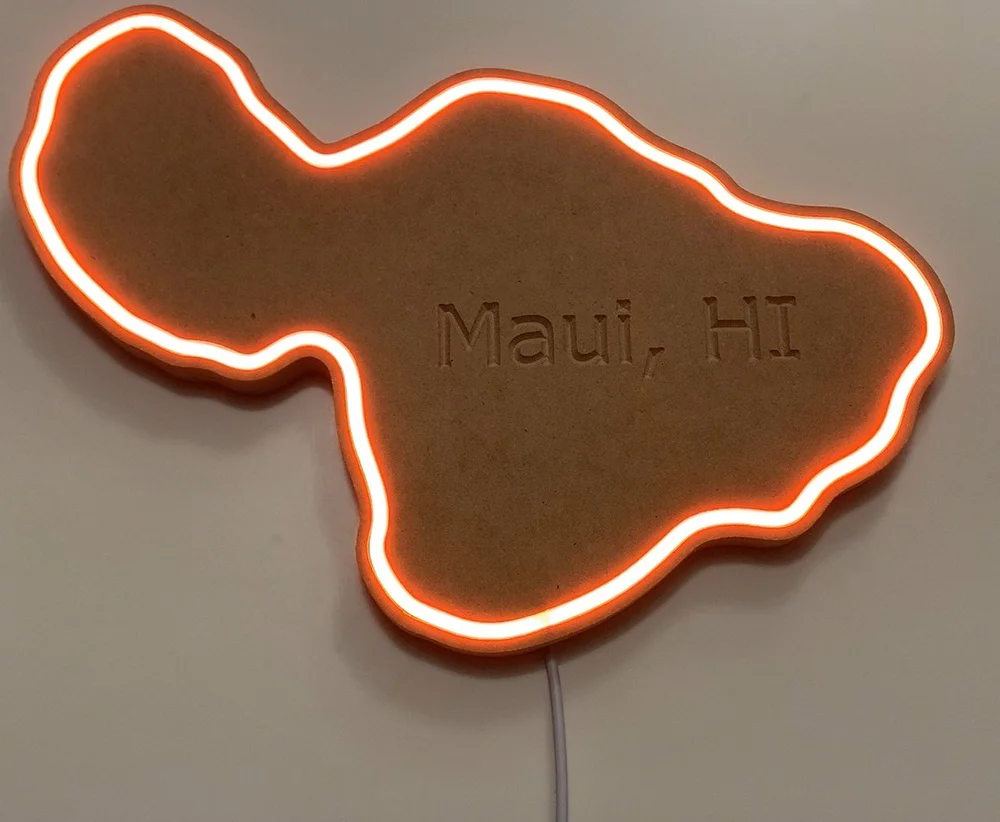
The completed sign with edge-diffused LED backlighting and V-carved text.
This piece was a great exercise in running a complete vector-to-CNC workflow. A few practical takeaways from the build:
- Toolpath Sequencing: Running the delicate V-carving before the heavy contour profiling minimized tool deflection and kept everything aligned.
- Feeds and Speeds: Dialing in the spindle RPM and feed rates for MDF kept the edges from burning and left a clean surface finish.
- Z-Zeroing: Setting up a reliable Z-zeroing workflow during tool changes was critical to prevent depth offsets between the engraving and pocketing passes.